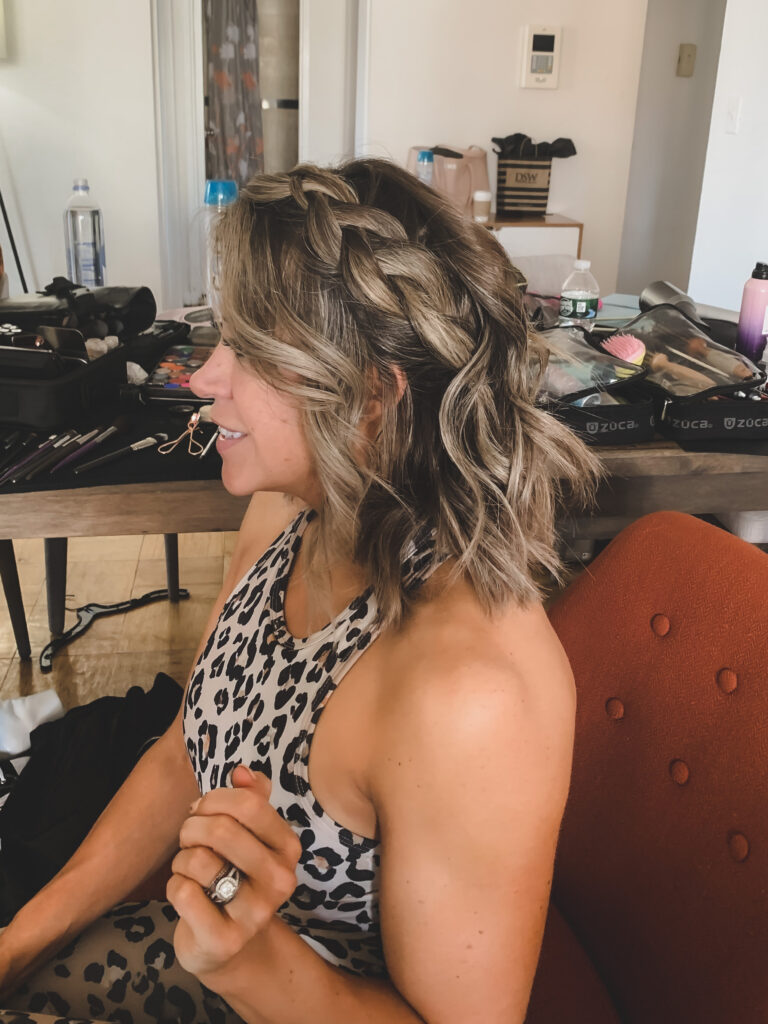
If you have events or vacations coming up this summer, look no further for the BEST hairstyle for all of your summer events! I had this gorgeous braid done on my hair by a professional hair stylist and I have been so obsessed with it ever since- I had to master re-creating it. I feel like a lot of the hairstyles I see and love are ideal for people who have longer hair, so I love this hairstyle since it works great for people who also have shorter hair.
This hairstyle has been my go-to for parties, date nights, events, and more. It’s actually so easy when you get the hang of it and the best part… it’s ideal for hair that is a little dirty, so it can be done at any time. Today I’m listing out the full step-by-step tutorial on how to get this look so you can try it yourself! Remember, it might take a little time to get the hang of it but you’ll be shocked at how quickly you’ll be able to master it. If you do try this tutorial, let me know how it goes in the comments, or make sure to tag me in your photos!! Now let’s get into it…
WAVY SIDE BRAID HAIR TUTORIAL

Step 1:
If you want the same look as me, start out with loose waves in your hair! You can also do this look with straight hair but you just want to make sure you’re working with hair that hasn’t been washed in a day or two. You don’t want your hair to be too clean or it will be slippery.
Step 2:
If you keep your hair in a middle part or a slight side part, comb it over to a deep side part. It doesn’t have to be perfect!
Step 3:
Take a bobby pin and pin back a small section in the back area of your hair. This will keep the hair out of the way while you braid, and also will be the piece of hair that you’ll use to cover your bobby pins when you finish. Pro tip: use bobby pins that are similar to the color of your hair so they blend!
Step 4:
Divide the front chunk of hair you’ll be using for the braid into 3 sections and begin the process of braiding it back. Each time you pull a piece of hair over, pick up a new, small section of hair on each side like you are doing a French braid.
Step 5:
Keep braiding your hair as far down as you can, continuing to grab pieces of hair on each side until you’ve gone as far down with the braid as you can.
Step 6:
Using a bobby pin, secure the braid to where you want it to sit on your head. Pull out the other bobby pin that you were using to pin back the back section of your hair, and maneuver it to cover the end of your braid and the bobby pin securing it.
Step 7:
Finish the look with a mist of your favorite hairspray! I also like to spray some texture spray on my waves to add a little extra volume.
And you’re done! It might take a few tries at first, but trust me, it gets easier the more you practice. Remember, the braid doesn’t need to be perfect, just work with your own hair texture and volume and you’ll look fab!